Above you’ll see the chicken coop that my wife and I built ourselves. We’ve been working on it over the last year or so, making adjustments and enhancements, so I want to write about what we’ve learned. We refused to spend hundreds of dollars on just their coop so we got some free pallets from down the street and scavenged for scrap wood.
First, Why Chickens?
The benefits of having free-range chickens:
- They make FREE FOOD for you. Plus, it’s healthier than the regular eggs that you buy in a grocery store. If you don’t eat eggs, you can sell them. A typical chicken lays 250-300 eggs per year, depending on variety, and based on my back-of-napkin calculations, they eat less money in food than they produce.
- They eat bugs, including ticks. In the winter, you have to provide food for the chickens. During the rest of the year, they supplement their diet with bugs, which greatly reduces the amount of money you have to spend feeding them. This is a big reason to let them free-range, instead of fencing them in. I happen to work from home and let our 90-pound guard dog out to protect them all day, so your mileage may vary when it comes to predators and free ranging.
- They’re great entertainment. If you have table scraps, you typically give your leftovers to the dog. Whatever your dog doesn’t eat, the chickens do! (Just not raw onions, same as with dogs. I’m not sure if chickens can have chocolate so you’ll have to look that up on your own). We get a good chuckle out of watching the chickens grab chunks of food and run away from each other, trying to eat it before the others grab it away.
- Eating Healthy is Contagious. Before you know it, you’ll need a compost pile and a cold frame to supplement your vegetable garden. Get your friends and family involved to help share in the work.
The Numbers
In total our costs for the first year or so of owning the chickens:
+ The chickens themselves: $48 ($8 each, we got 6 to start out with. If you’re patient you can find them cheaper or free on Craigslist. Or, you can buy the baby chicks from Tractor Supply or the like for much cheaper. Ours were a few months old when we bought them, hence the higher price.)
+ Screws, hardware mesh, other materials to build coop: $100 (tops)
+ Food, mainly for during winter: $180 ($15/month)
Assuming each chicken lays 300 eggs per year, with 6 chickens that’s 1800 eggs or 150 dozen. At the grocery store near us, eggs are $2/dozen for the cheap ones and $5/dozen for the grass fed, free range variety. That’s around $500 profit, whether you sell them for cash or eat them and simply not buy eggs.
The Worst Part
I don't want to pull any punches. By far, the worst part of owning chickens is keeping up with them. We let them out every morning, gather eggs every afternoon, and close them up every night. Combine this with cleaning out their bedding and carrying around heavy bags of food and most people start cringing at the thought. I find it all to be very healthy and therapeutic, so it doesn’t bother me.
Let’s start looking at the pictures now.
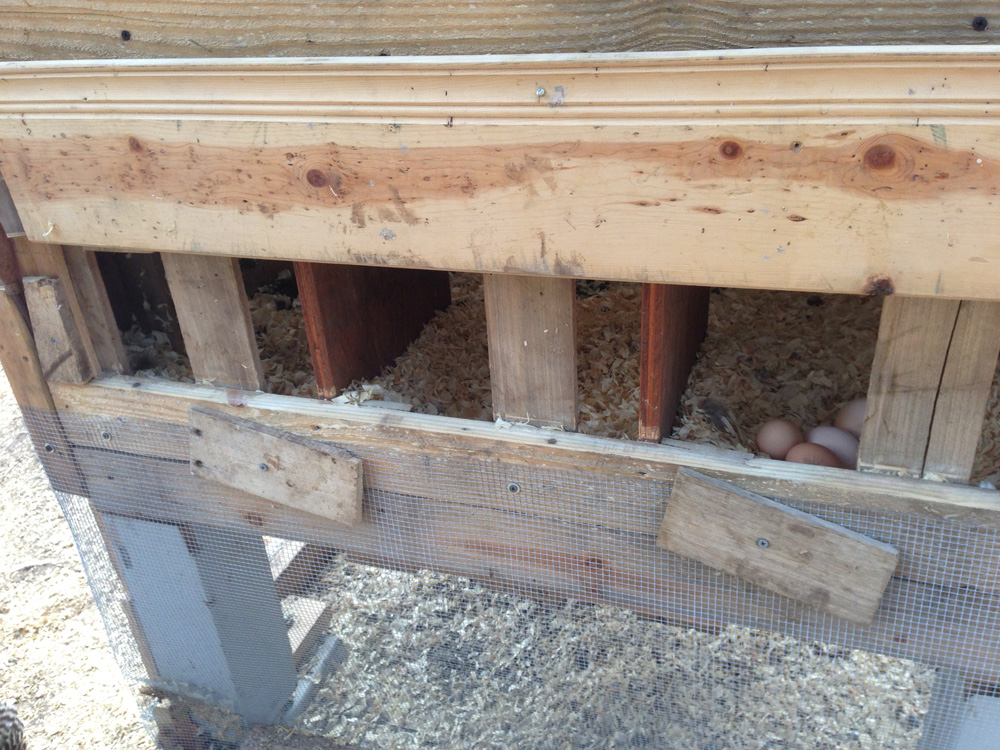
Above: This photo shows 4 eggs inside our nesting boxes. We used some scrap plywood to create the vertical separators between the 3 nesting areas. We've found that our chickens tend to only use the one on the right. Sometimes there are a few eggs in the middle (assuming this is when the right one is occupied) and we've never found an egg in the left box.
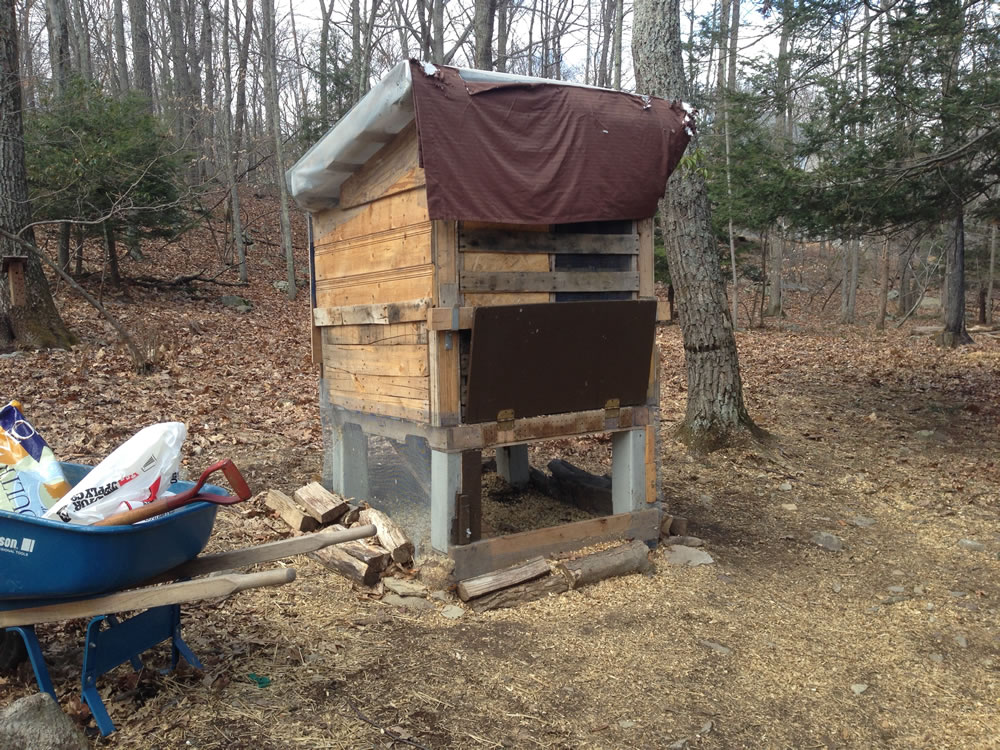
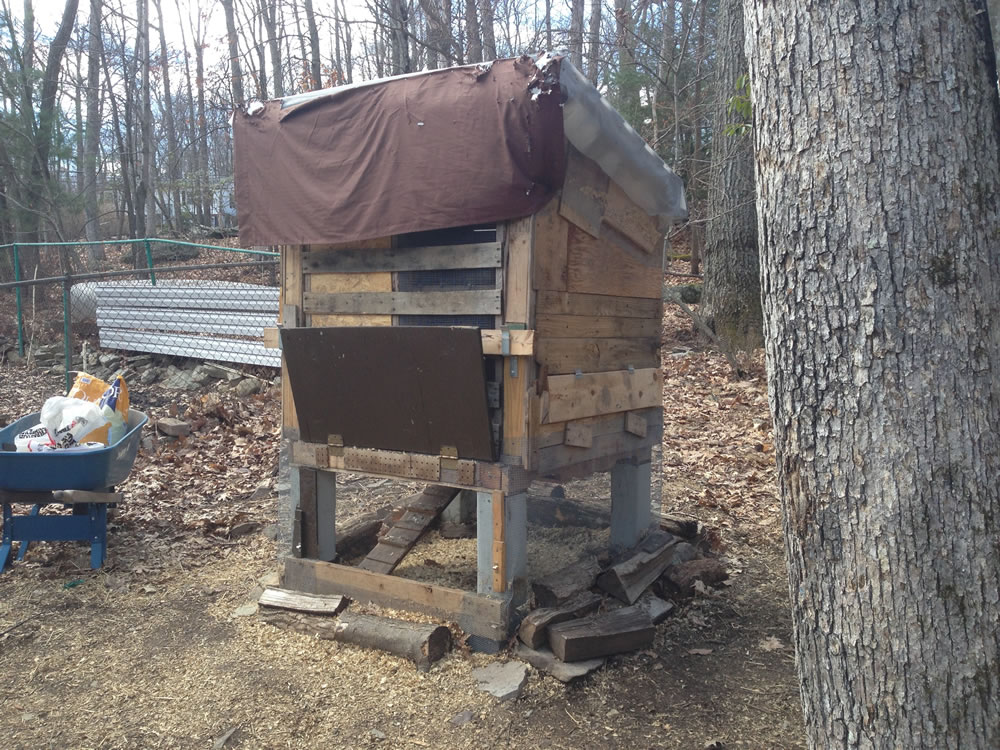
Above: This shows our coop during a typical winter day. Note the insulated curtain that we stapled to the front at the top to cut down on the wind. The bottom flap is a painted piece of brown plywood that we mounted on hinges. There is a short piece of speaker wire that we hook it to in order to hold it up.
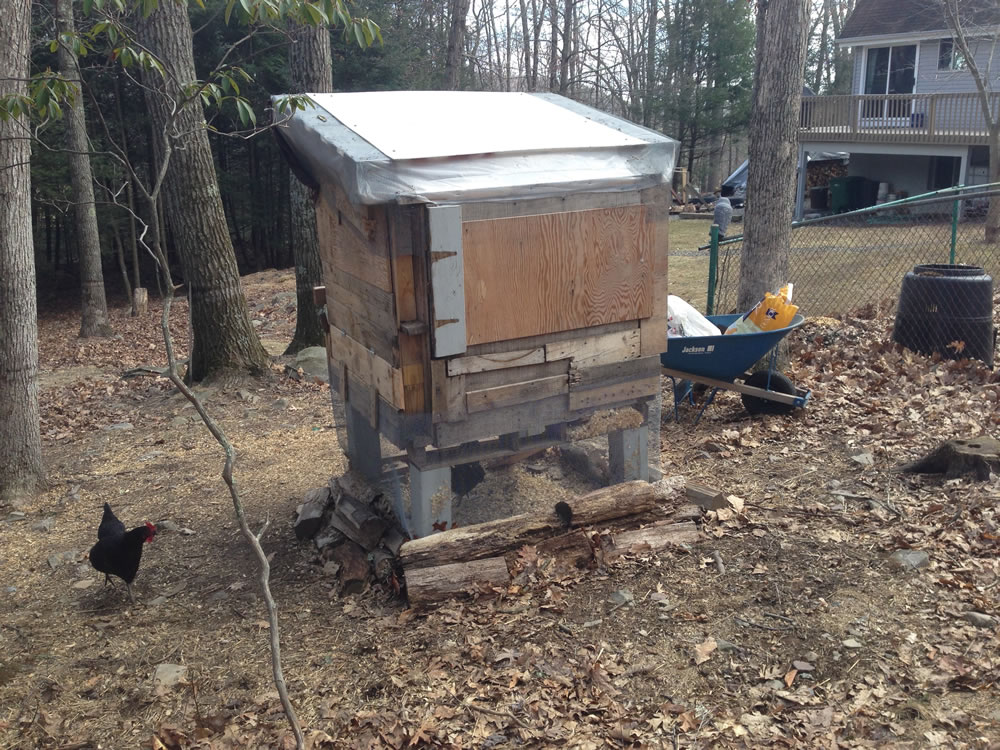
Above: Side-angle profile. Note the nesting-box-flap on the right side is currently unlocked. We turn the small pieces of wood to 'lock' it.

Above: The nesting-box-flap now closed and locked. Note that this nesting box is on the north side of the coop. We initially tried to have them lay eggs in the nesting box that we built on the south side of the coop, but it only took a few weeks for the chickens to teach us that it's easier to just move the nesting box to where they are laying eggs rather than try to coach them into laying the eggs in our desired location.
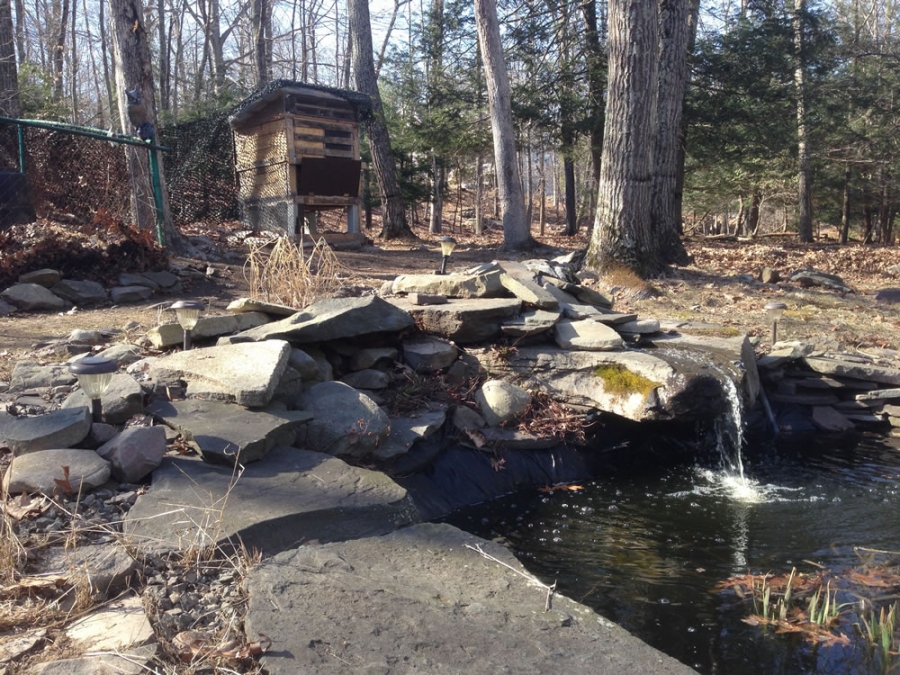
Above: The rear view of the coop, note the roof is constructed by attaching 2 pallets to the roof. We covered them in 6-mil plastic and then put an old sign on top of it all to keep rain / snow / etc out. The roof should overhang a bit so that the sides stay dry. Moisture is bad for chickens during any season. In winter it will freeze and not allow them to keep warm. In summer it promotes mold growth.
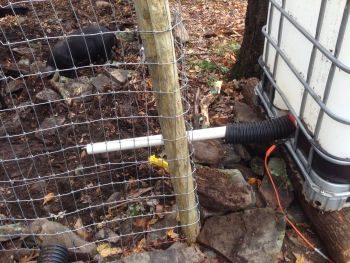
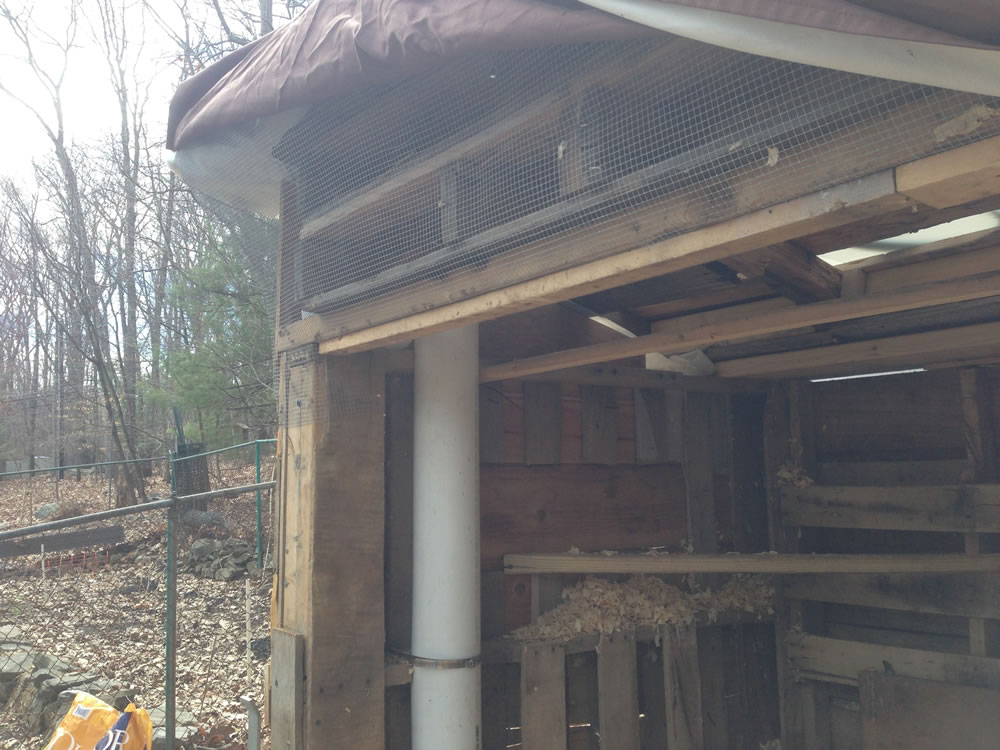
Above: We installed hardware mesh (1/4" holes) around the entire bottom, plus anywhere that was not solid wood. It is fastened using screws and washers every 4-6" to deter predators.
Above: I flapped the curtain back so you could see the mesh covering the front. We cut the ends off of two pallets and stacked them under one side in order to pitch the roof.
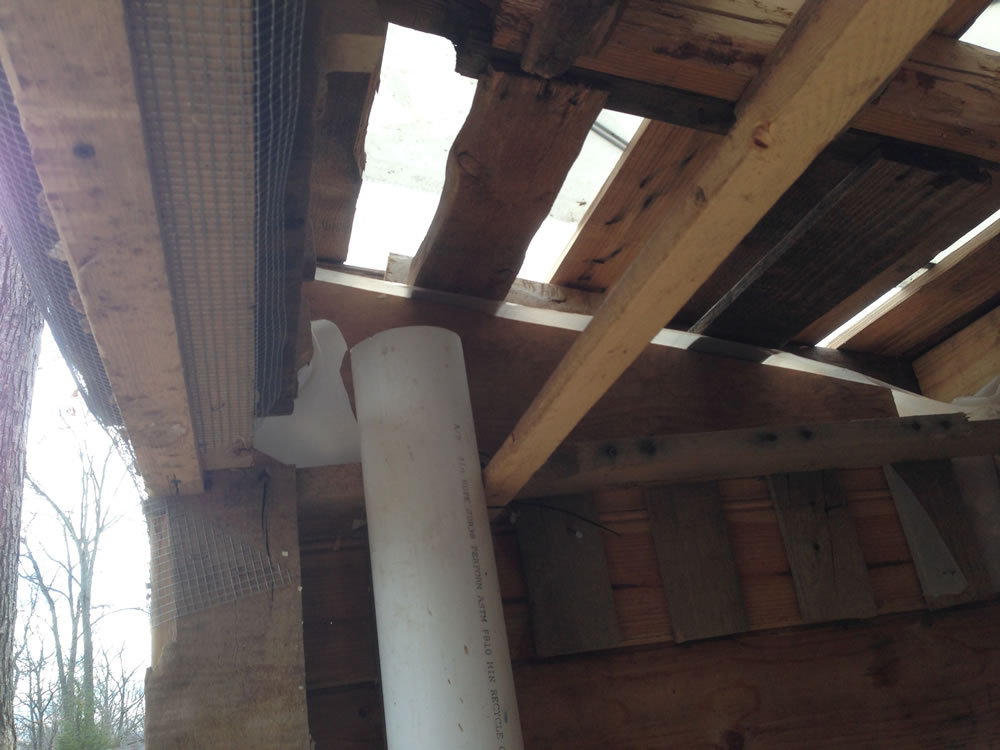
Above: Inside the coop, you can see our "hopper" that we built for their food. It is close enough to the ceiling that we can fill it with food but droppings stay out. It takes a few minutes each week to top of the feeder.
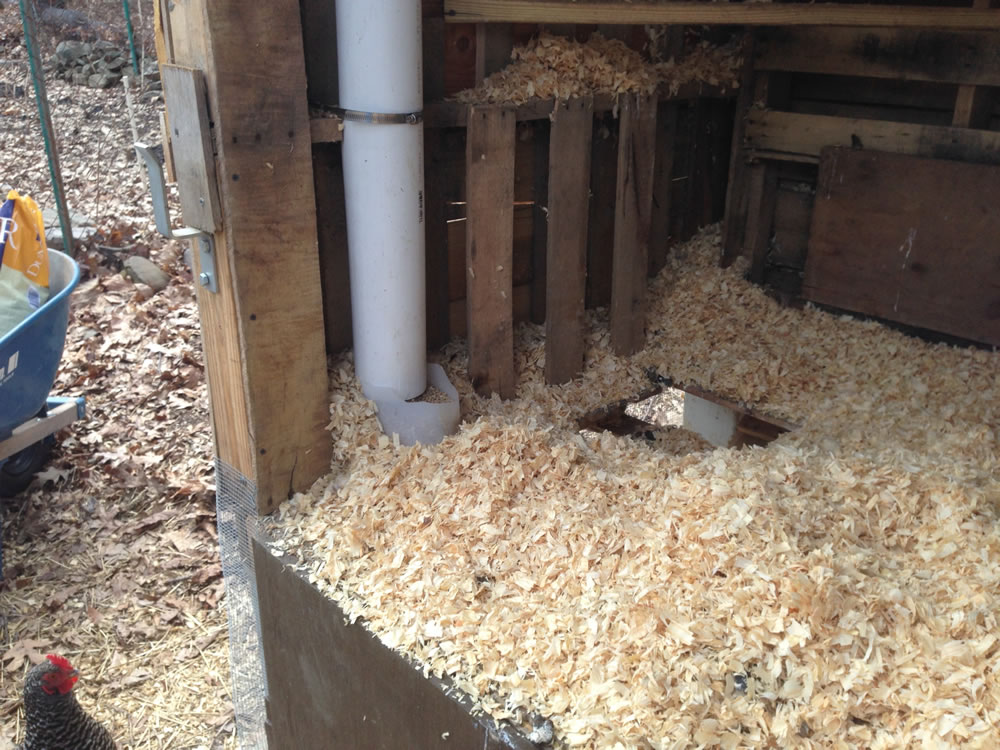
Above: The feeder is held onto the wall using a 6" hose clamp and the bottom is held a few inches off the floor. Below the 4" PVC pipe is the bottom half of a washer fluid bottle, we screwed it to the floor of the coop and trimmed it so that the food is held in the bottom and they can reach in to get it.
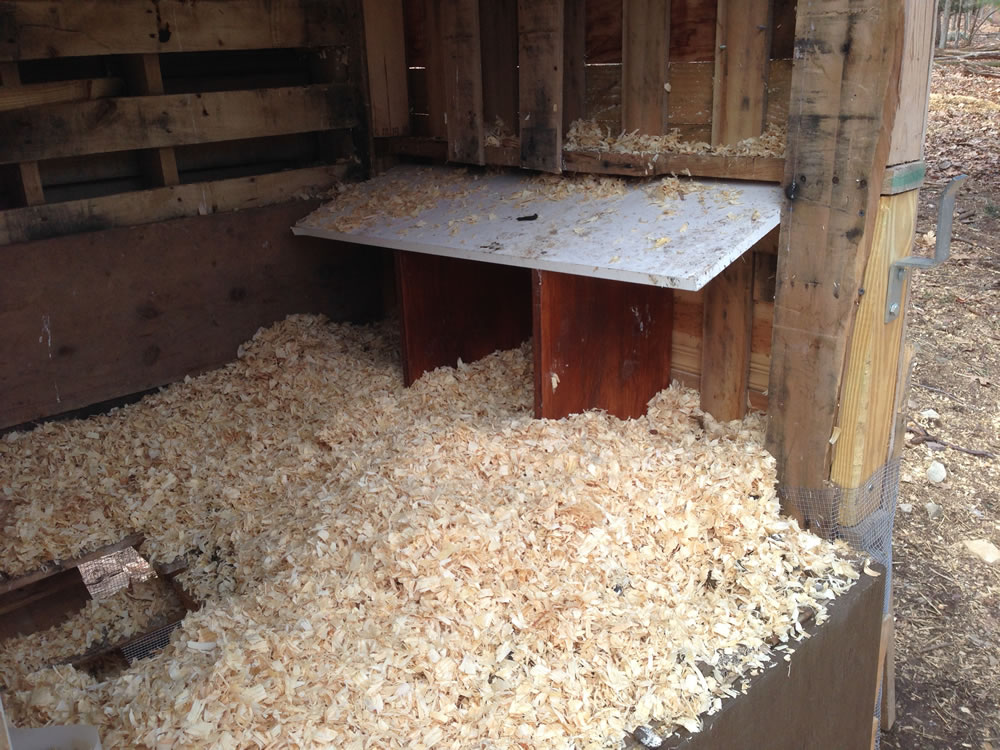
Above: Inside view of the nesting boxes. Note the sloped white board above them to keep droppings out of the egg area.
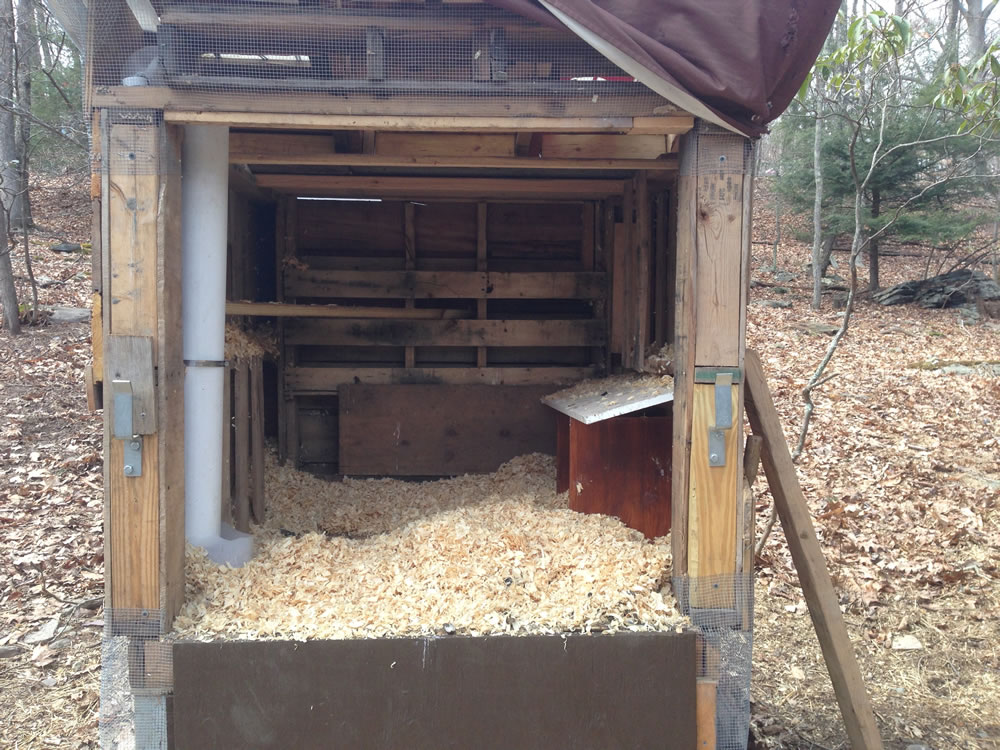
Above: The chickens need somewhere to sleep! There are two perches, one diagonally about 2 feet off the floor, in the back-left corner. The other perch is towards the front, near the hopper. There is enough room for the chickens to get up there and still have room for their heads. They like sleeping up in the rafters! It keeps them safer from predators.
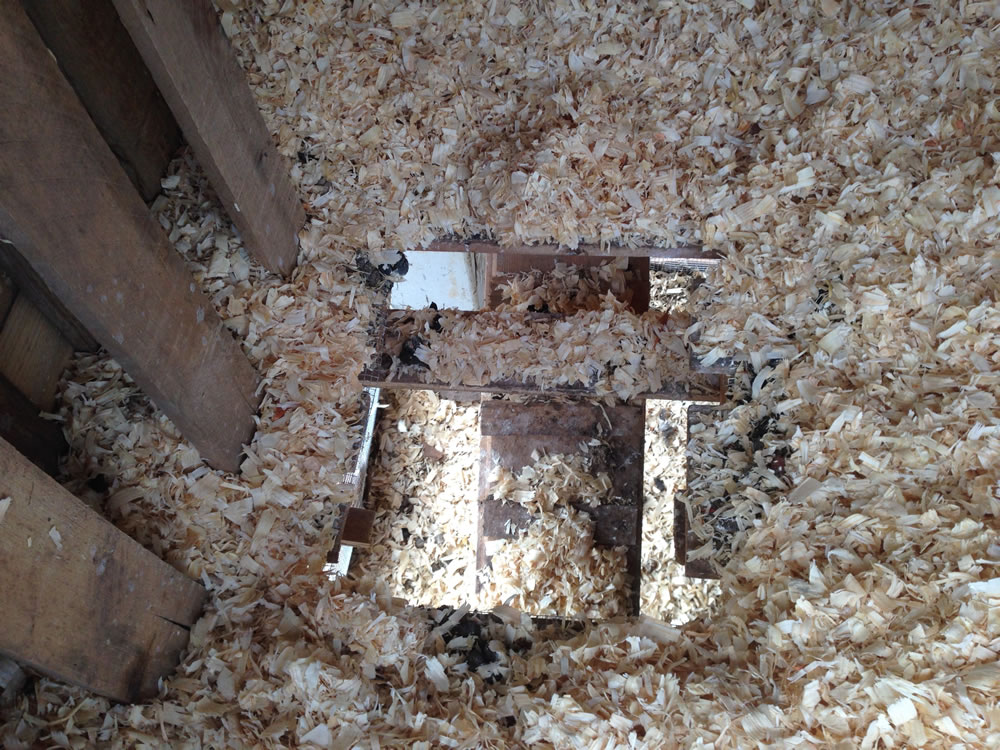
Above: This is a view down the access hole inside the coop. The chickens enter through the bottom floor and walk up the ramp, which is visible in the picture, it's just covered in a bit of wood shavings. They hop up through this hole when they go in to sleep at night, hop down in the morning, then go back through to lay their egg at some point during the day.
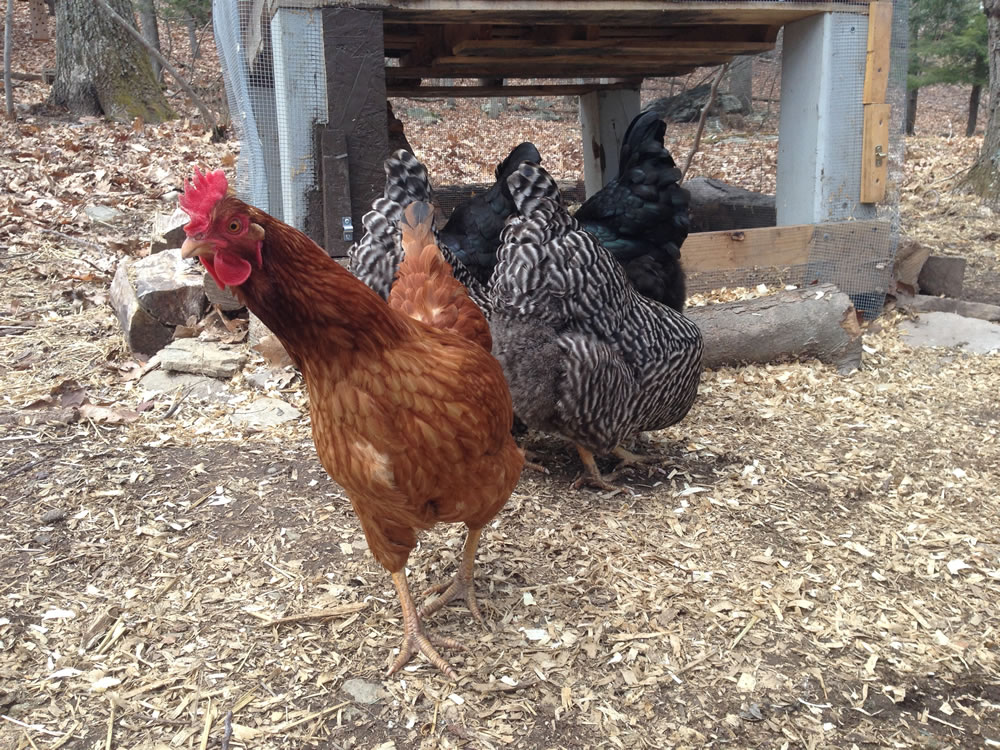
Above: They are very friendly, and all 5 of them were nice enough to pose for a photo! They are standing in from of their 'front door' - this is the opening they use to get into the ground-level area of their coop and use the ramp to get up inside. (From left to right, Red 1, Speckle 1, Black 1, Speckle 2, Black 2)
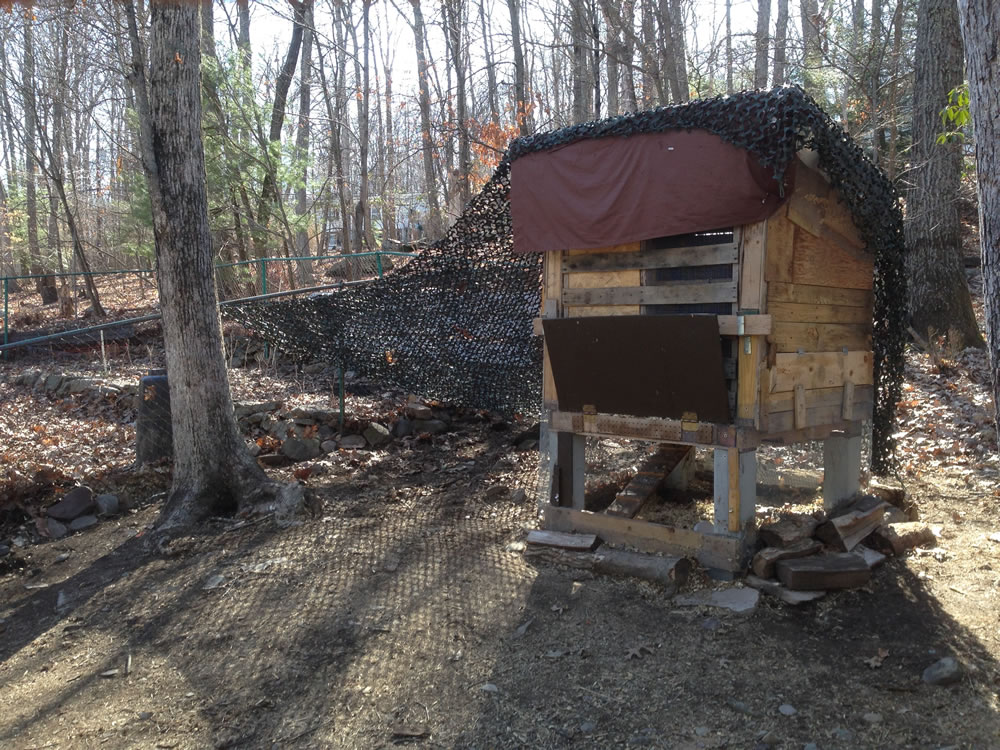
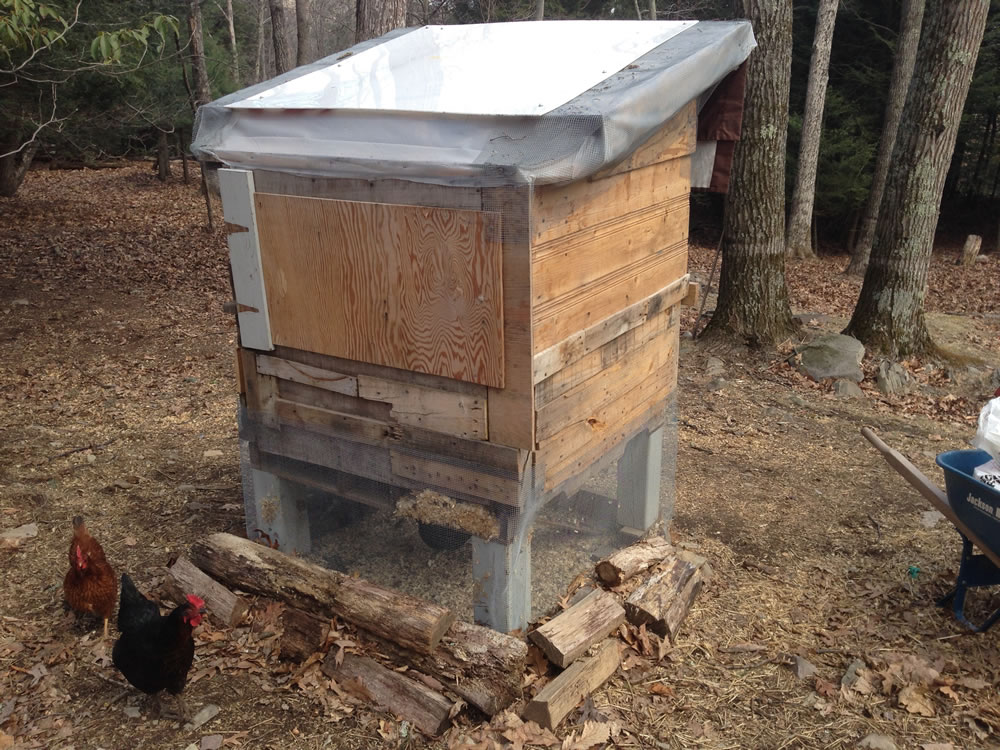
Above: We put some camo netting over our coop to give the chickens a place to get some shade and protection from overhead predators.